

Ever gone back to watch a favorite YouTube video, only to find it’s been deleted, taken down, or made private? It’s frustrating — especially if the video held sentimental value, useful information, or content you can’t find anywhere else. The good news: a deleted video isn’t always gone for good. Here are four methods you can try to track one down.
1. The Wayback Machine
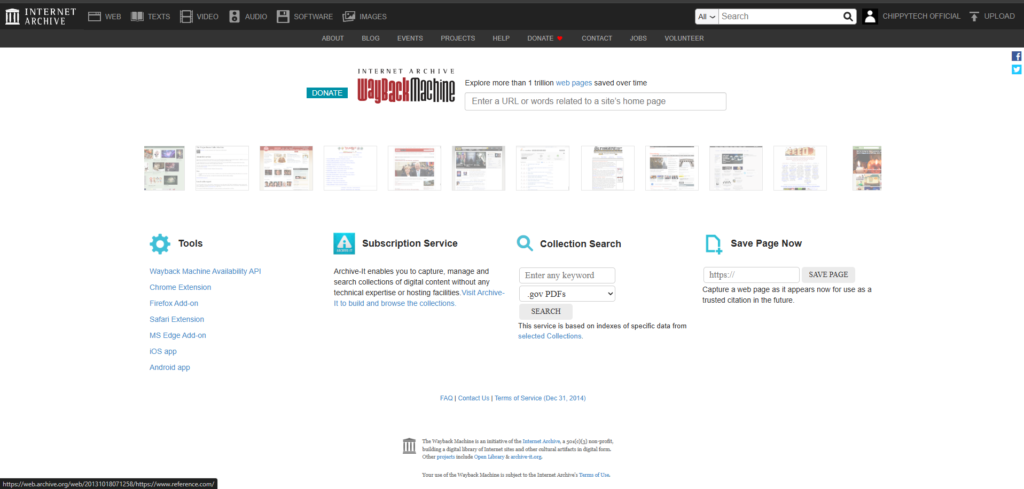
The Wayback Machine is a massive archive of the internet that regularly takes snapshots of web pages — including YouTube video pages. If you still have the original link to the video, this should be your first stop.
How to use it:
- Copy the original YouTube video URL.
- Head to web.archive.org.
- Paste the link into the search bar.
- Browse the available snapshots by date. If you’re lucky, an archived version of the page may still have the video player working, or at least show you the title, description, and thumbnail.
Keep in mind that the Wayback Machine archives the page, not always the video file itself, so results can be hit or miss depending on when the snapshot was taken.
2. Google Search
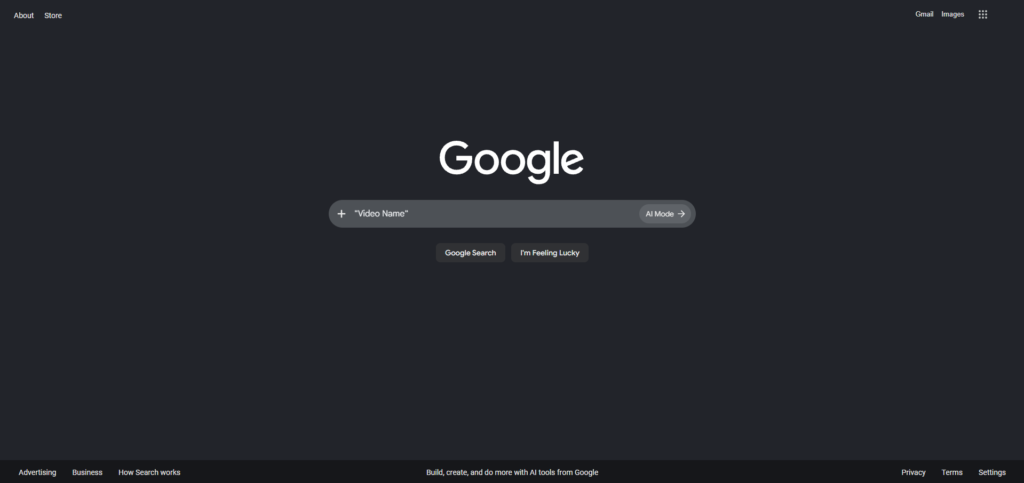
Don’t underestimate a simple Google search. Even after a video is deleted from YouTube, Google’s cached data, mirror sites, or reposts can still lead you to it.
How to use it:
- Go to Google.com.
- Type in the exact video title, or better yet, the video ID (the string of letters and numbers at the end of a YouTube URL, after
v=). - Look through the results for cached pages, forum discussions, reaction videos, or reposts that might reference or even re-host the content.
Searching the video ID specifically tends to work well since it’s a unique identifier that other sites may have indexed.
3. Check Your Backups

This one’s easy to overlook: if you ever downloaded the video, saved it locally, or backed up your device, the file might already be sitting on one of your drives.
Where to look:
- Local downloads folders or external hard drives
- Cloud storage services (Google Drive, Dropbox, OneDrive)
- Old phone or computer backups
- Video editing project files, if you ever clipped or reused the footage
It’s worth a quick search across your devices before assuming the video is lost forever — you might have saved it without even realizing it.
4. Check Other Sites
YouTube isn’t the only place videos live. Content creators often cross-post their work, and other users sometimes re-upload popular videos elsewhere.
Places to check:
- Internet Archive — Beyond the Wayback Machine, the Internet Archive hosts an enormous library of user-uploaded videos that may include a full re-upload of what you’re looking for.
- Vimeo — Many creators mirror their content here as a backup platform.
- Other social platforms — TikTok, Twitter/X, Reddit, or Facebook are common places where clips or full videos get reposted.
A quick search using the video title or creator’s name across these platforms can sometimes turn up an exact copy or something close to it.
Final Thoughts
Losing access to a YouTube video you loved (or needed) can be frustrating, but it’s not always the end of the road. Between web archives, search engines, your own backups, and alternative video platforms, there’s a good chance you can track it down. Start with whichever method fits your situation best — if you have the original link, try the Wayback Machine first; if you only remember the title, Google search or other platforms might be your best bet.